Prior to digging rake existing decorative rock or mulch out of the planting area to allow for excavation of the planting pit. Do not allow ROCK to become part of the backfill to avoid excessive heat retention in soil. Mulch is fine to accidentally mix in, due to the fact that it will decompose and act as nutrition.
Use a tarp or piece of plywood to stockpile the excavated soil separately from the decorative rock or mulch during the planting process, to prevent the mixing of the native soil.
Dig the depth of the planting hole to a depth that is 5%-10% less than the depth of the rootball. You do not want to over excavate, to avoid settling of the rootball. Soil types will determine the amount of settling. With loamy soil (black dirt) use the 5%-10% rule, in rocky or clay soil dig 2%-5% less.
When digging the hole, be sure to dig as wide as practical based on soil conditions. Strive for a minimum hole width of 1.5x the root-ball for trees. Do not dig a hole larger than 2x the size of the root-ball for trees, shrubs, and groundcovers.
Hand dig planting holes when you can. This allows you to roughen up the sides of the planting hole to break up soil glazing (When digging in poorly drained clay soil, it is important to avoid ‘glazing’. Glazing occurs when the sides and bottom of a hole become smoothed forming a barrier, through which water has difficulty passing.)
Lightly prune roots around the exterior of the rootball if they are circling the entire ball. Center the tree in the planting hole.
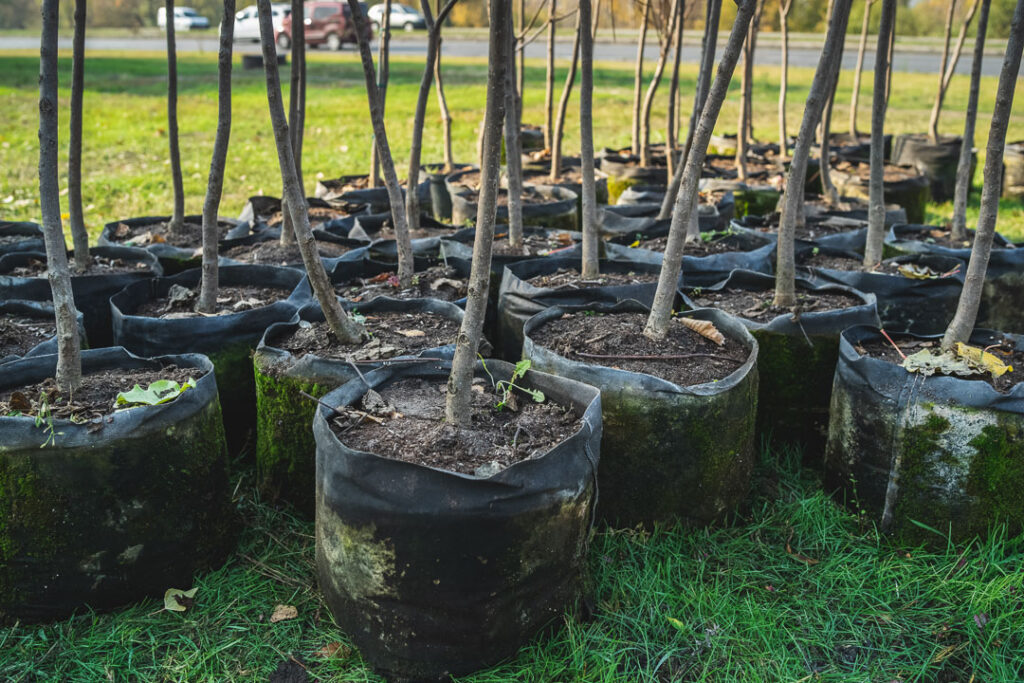
Remove the entire container from 15 gallon and 24” box trees. Also remove the entire container from 30” box trees if the rootball is tight. Due to the weight of the rootball and soil in trees in 36” box sizes and larger, we recommend leaving the bottom of the box in place. It will decompose under the tree over time.
If your native soil is in good condition, it is recommended to use it as backfill. A soil test can confirm if you have “good soil” or inform you of what amendments are needed to improve your soil quality. If soil needs amendments, mix it with the native soil, then use water to settle and compact the backfill to eliminate air pockets.
Manual watering will be necessary to add the proper amount of supplemental water while the plants adapt to the new environment. For the first 2 weeks, make sure to water every day. Watering can be reduced to once every 2-3 days for the next 3-12 weeks.